5 Apps To Edit Attention-Grabbing Instagram Photos On Your Phone

Think you need a professional DSLR camera* to take eye-catching photos? Think again. We have some of the most advanced photo technology right in the palm of our hands. Yep—our smartphones. I'm going to share a few tips and tricks to help you get the most out of your iPhone camera.
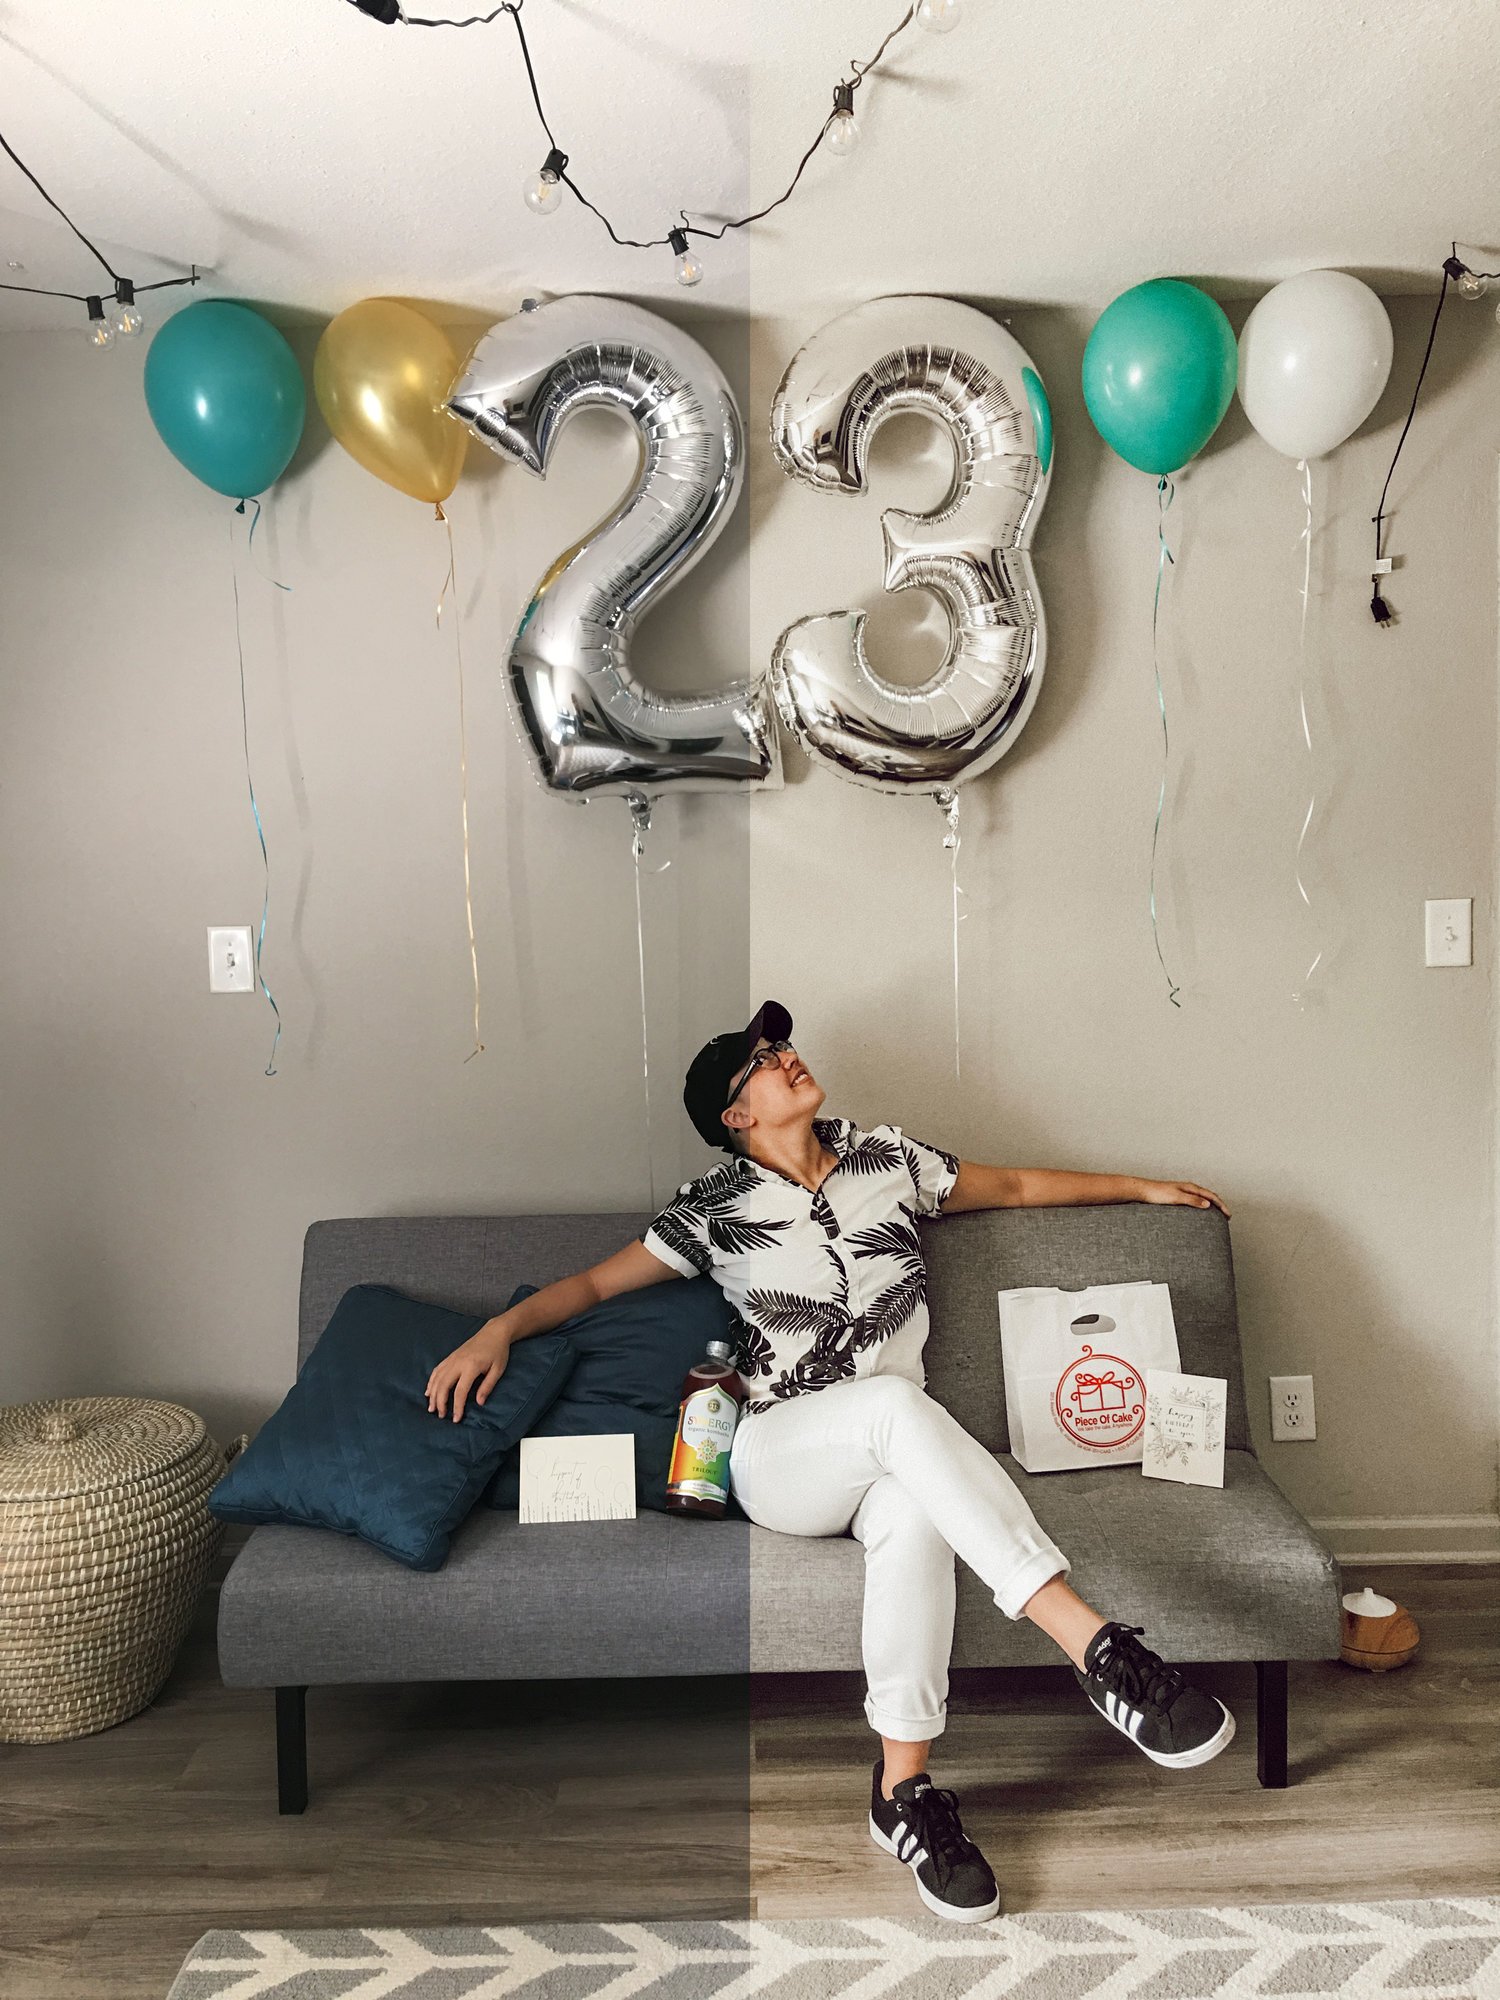
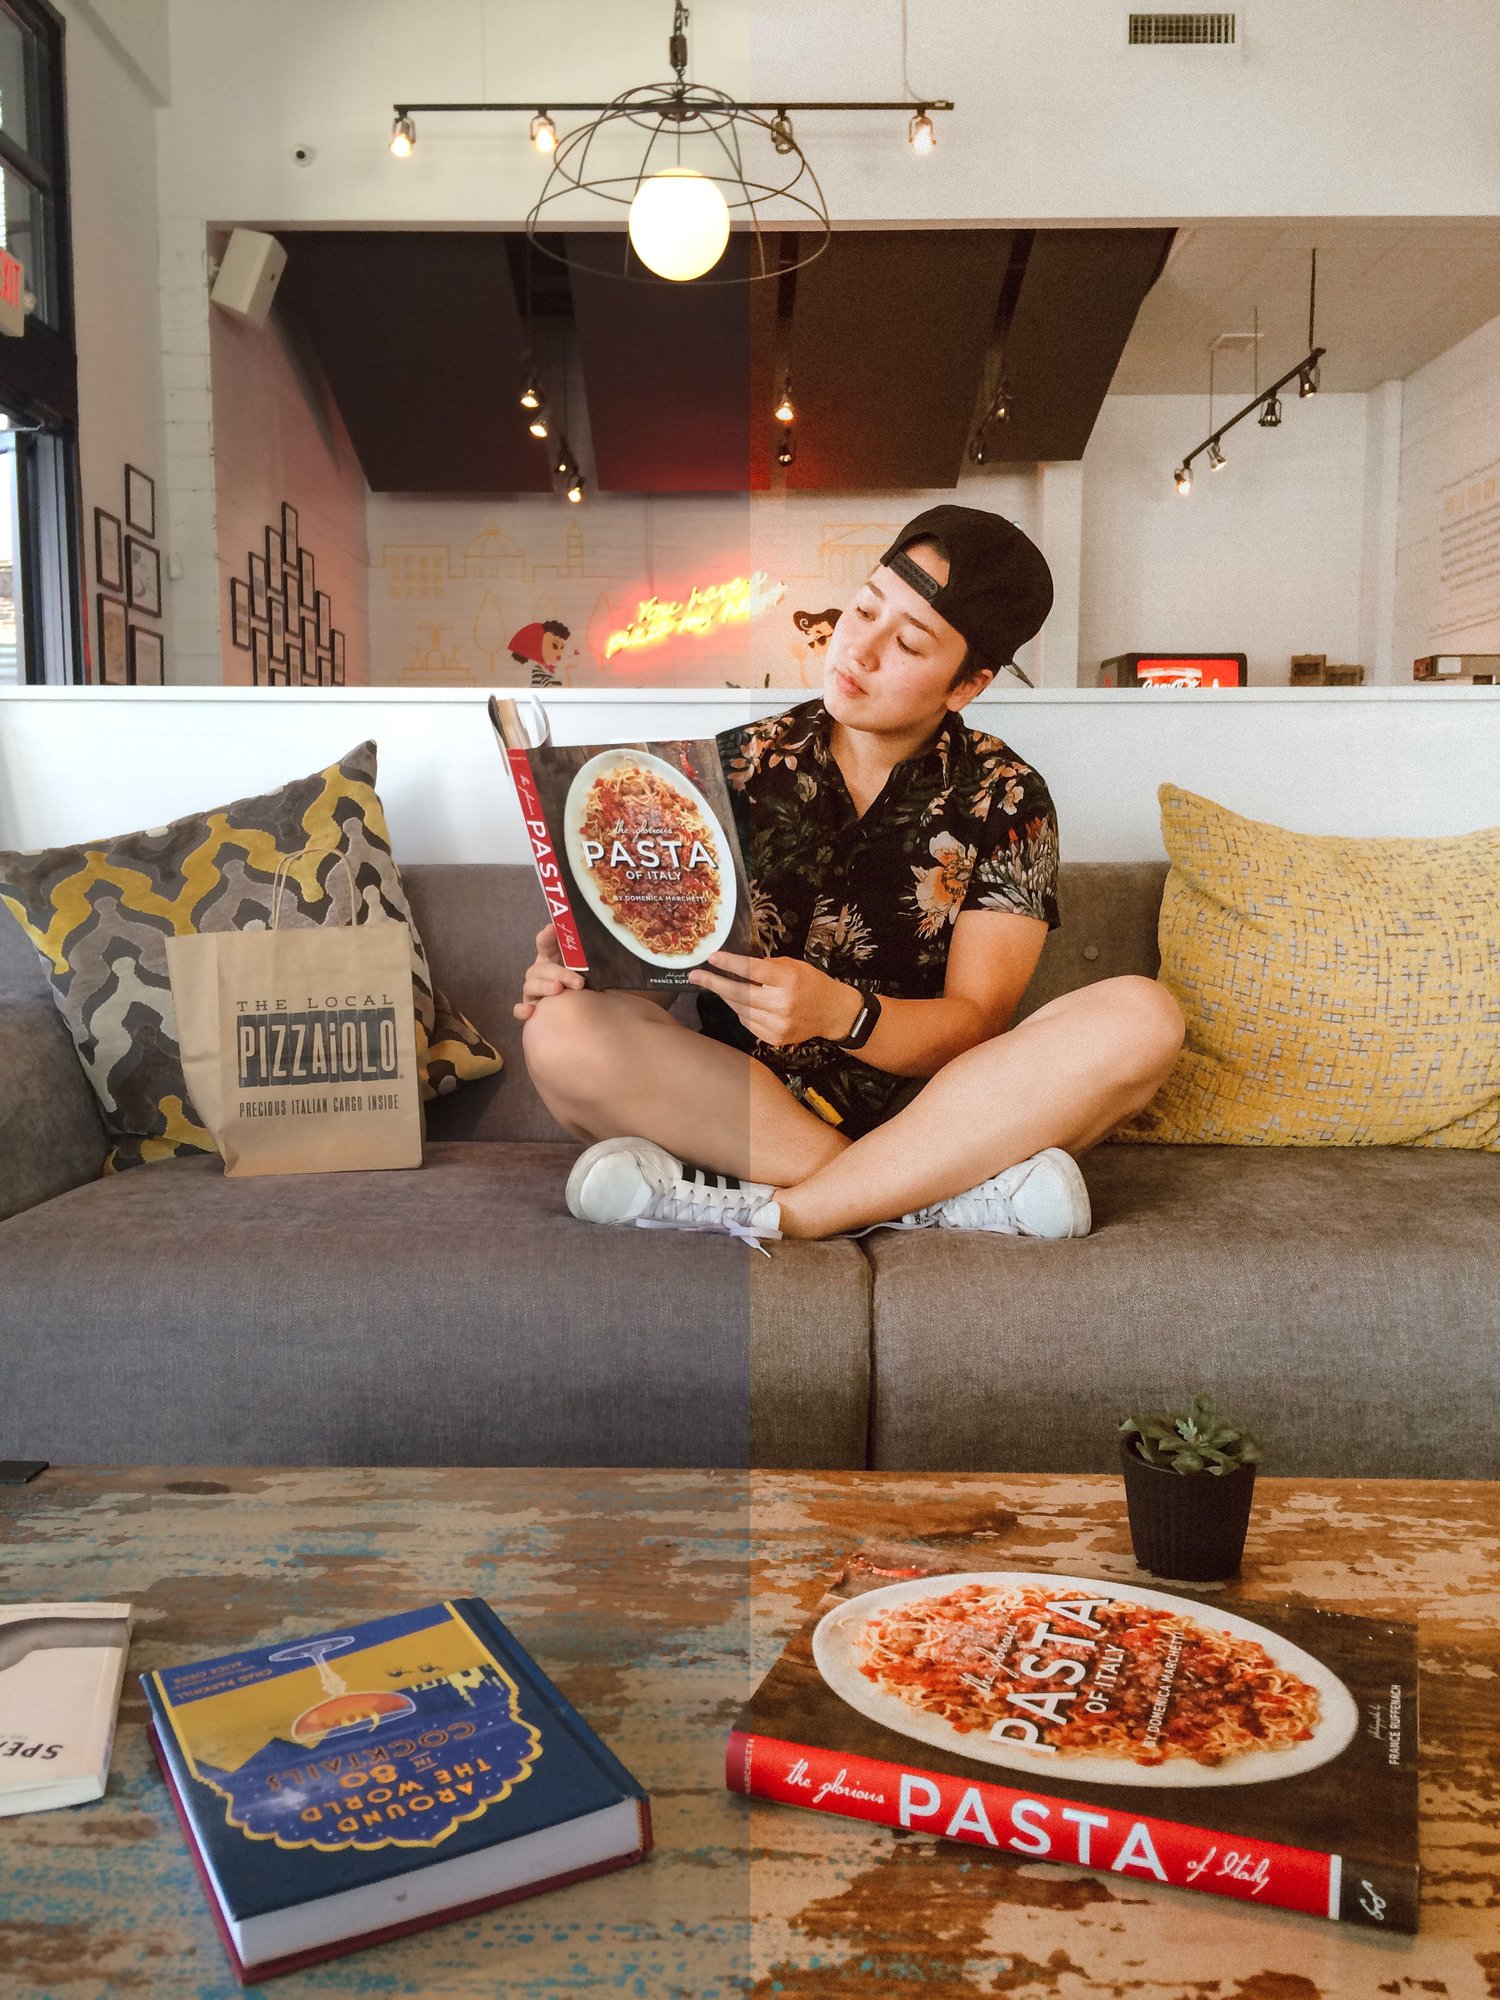
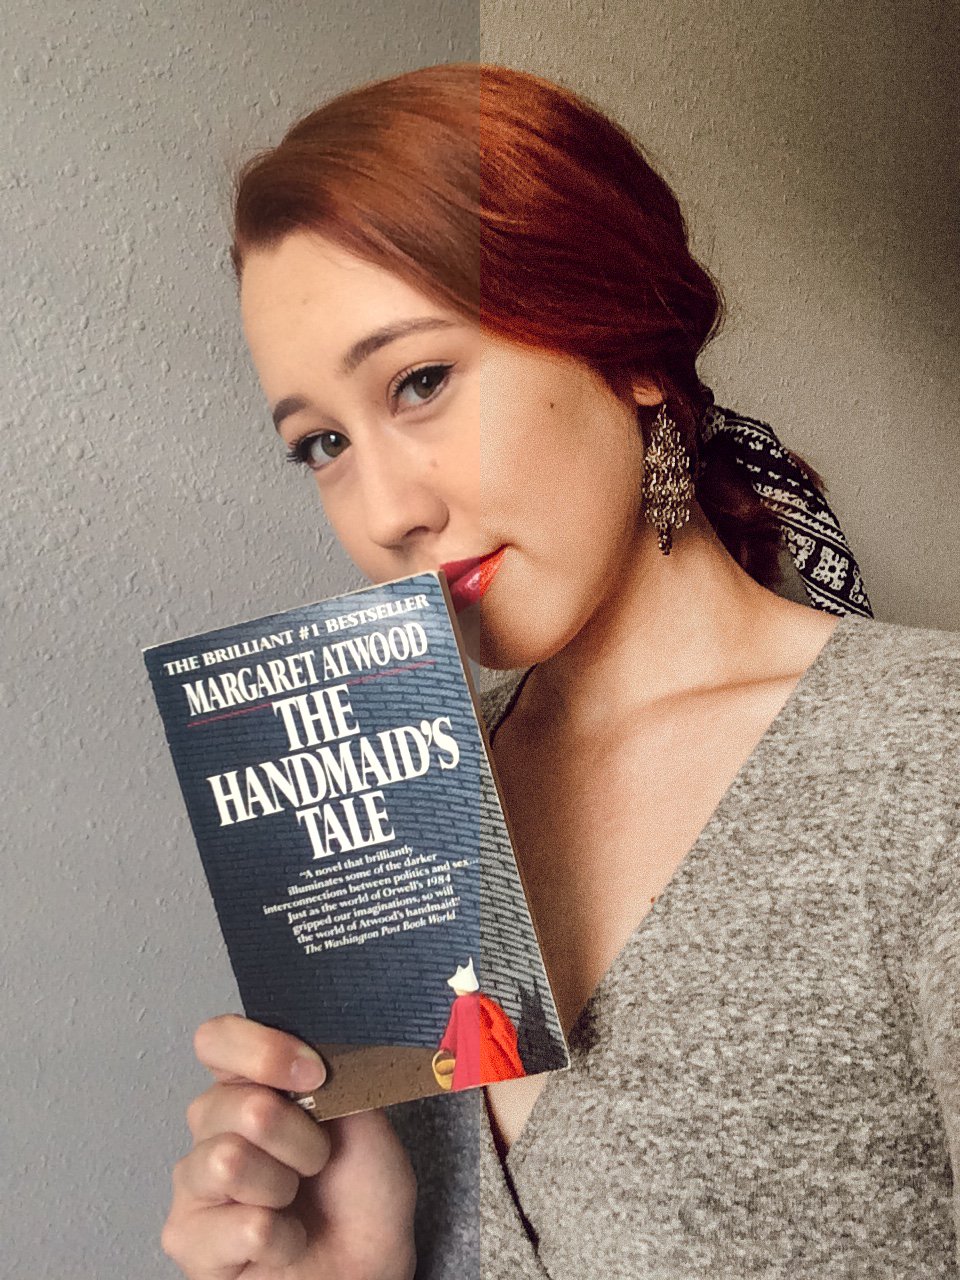
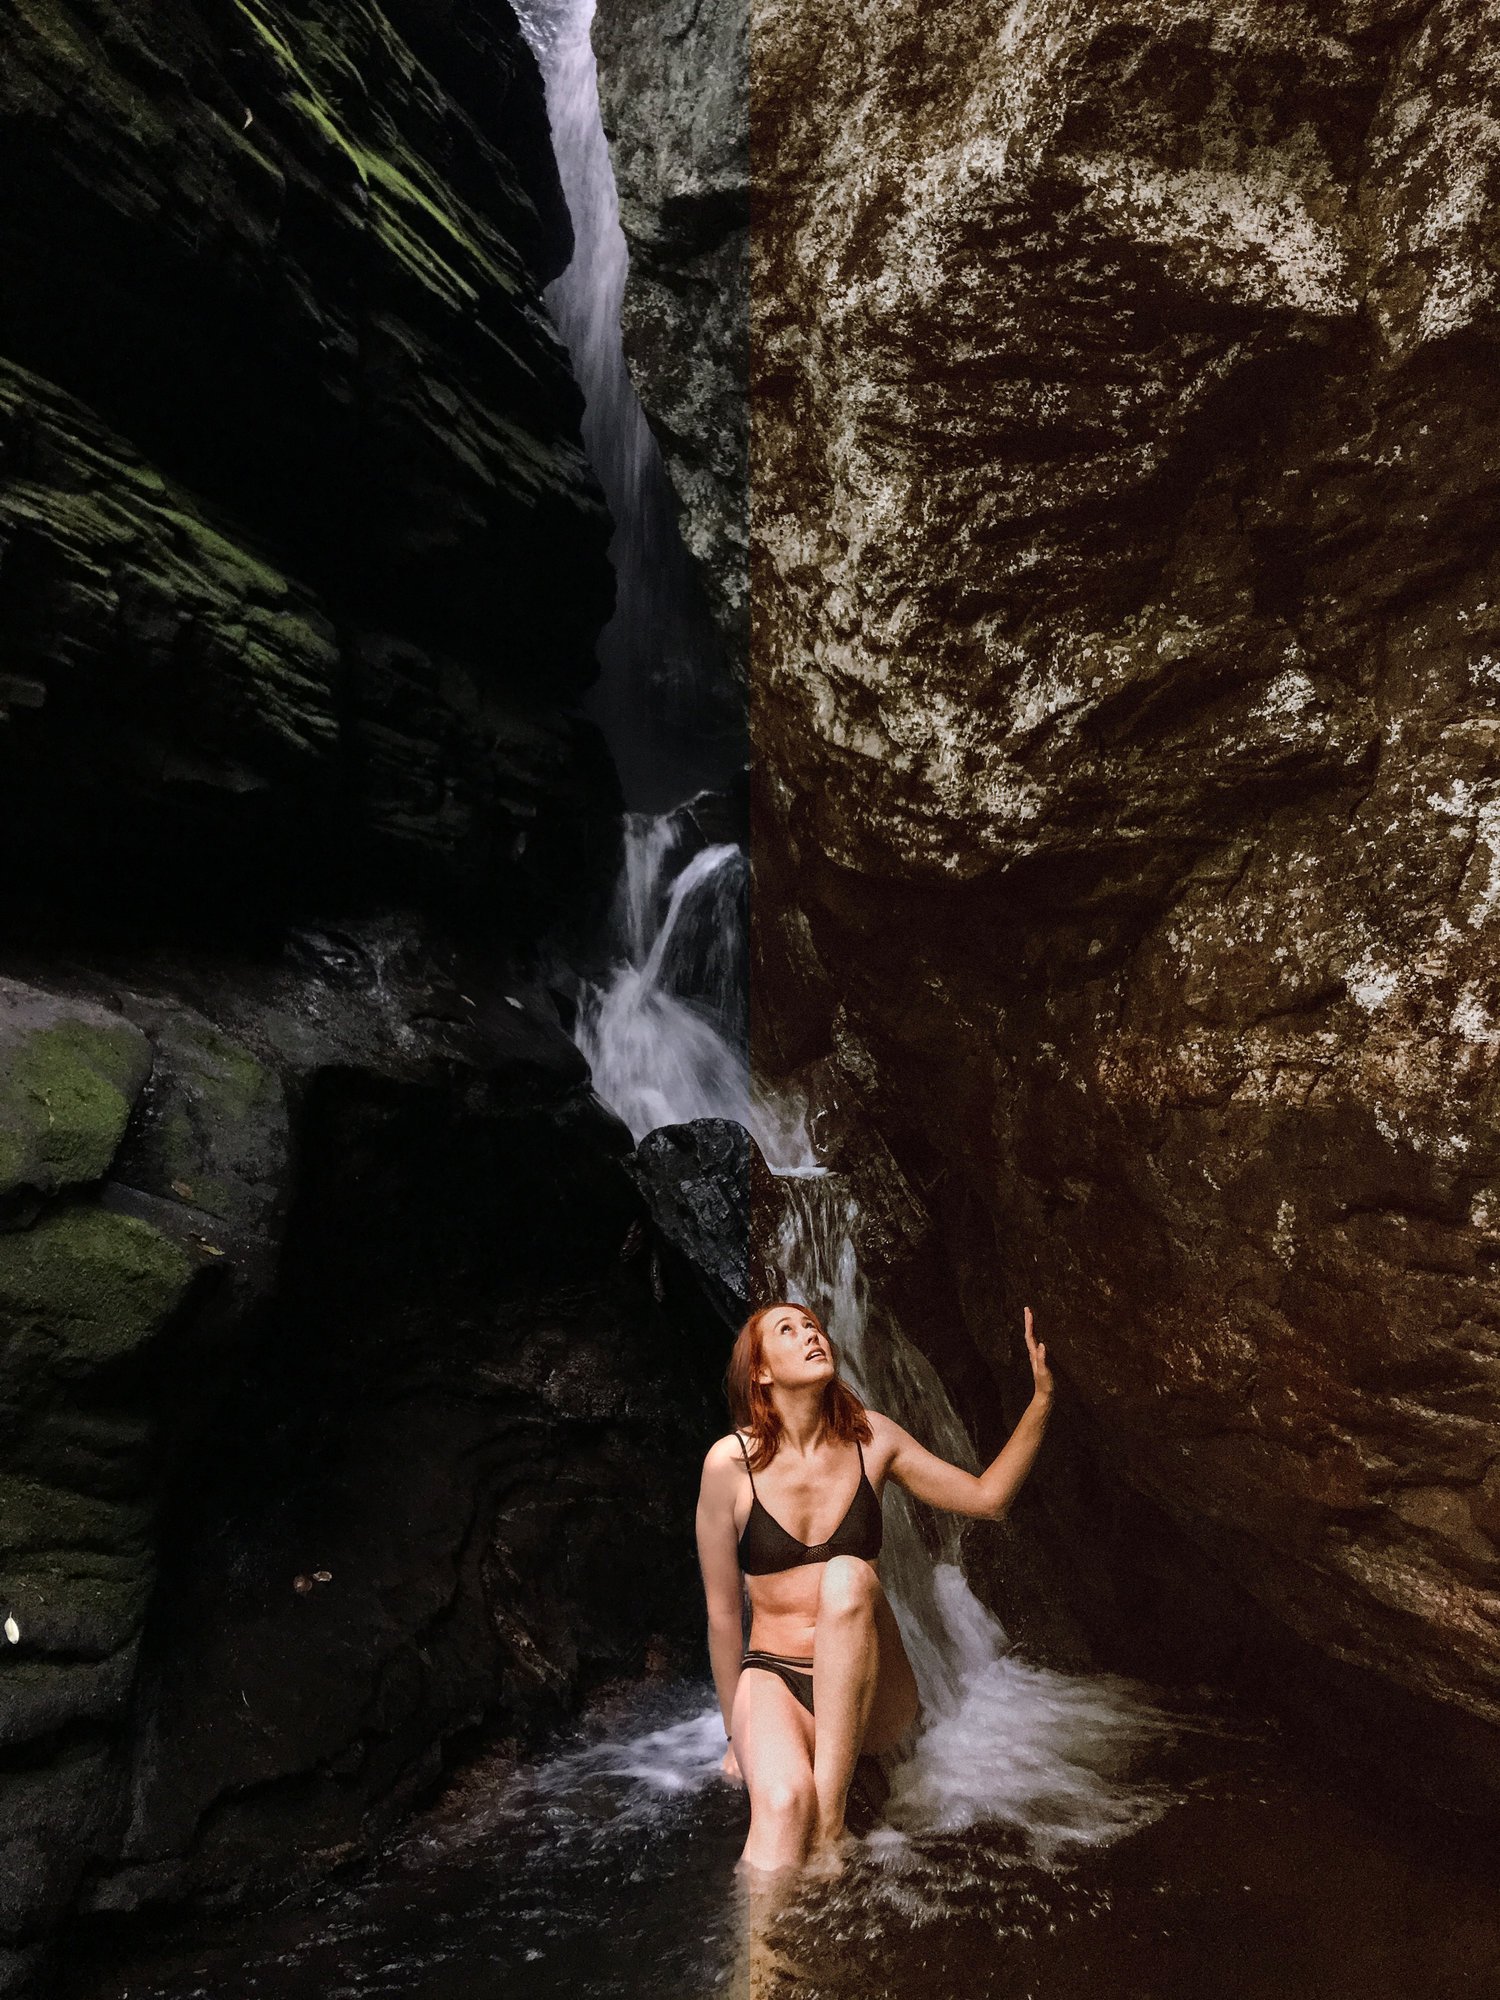
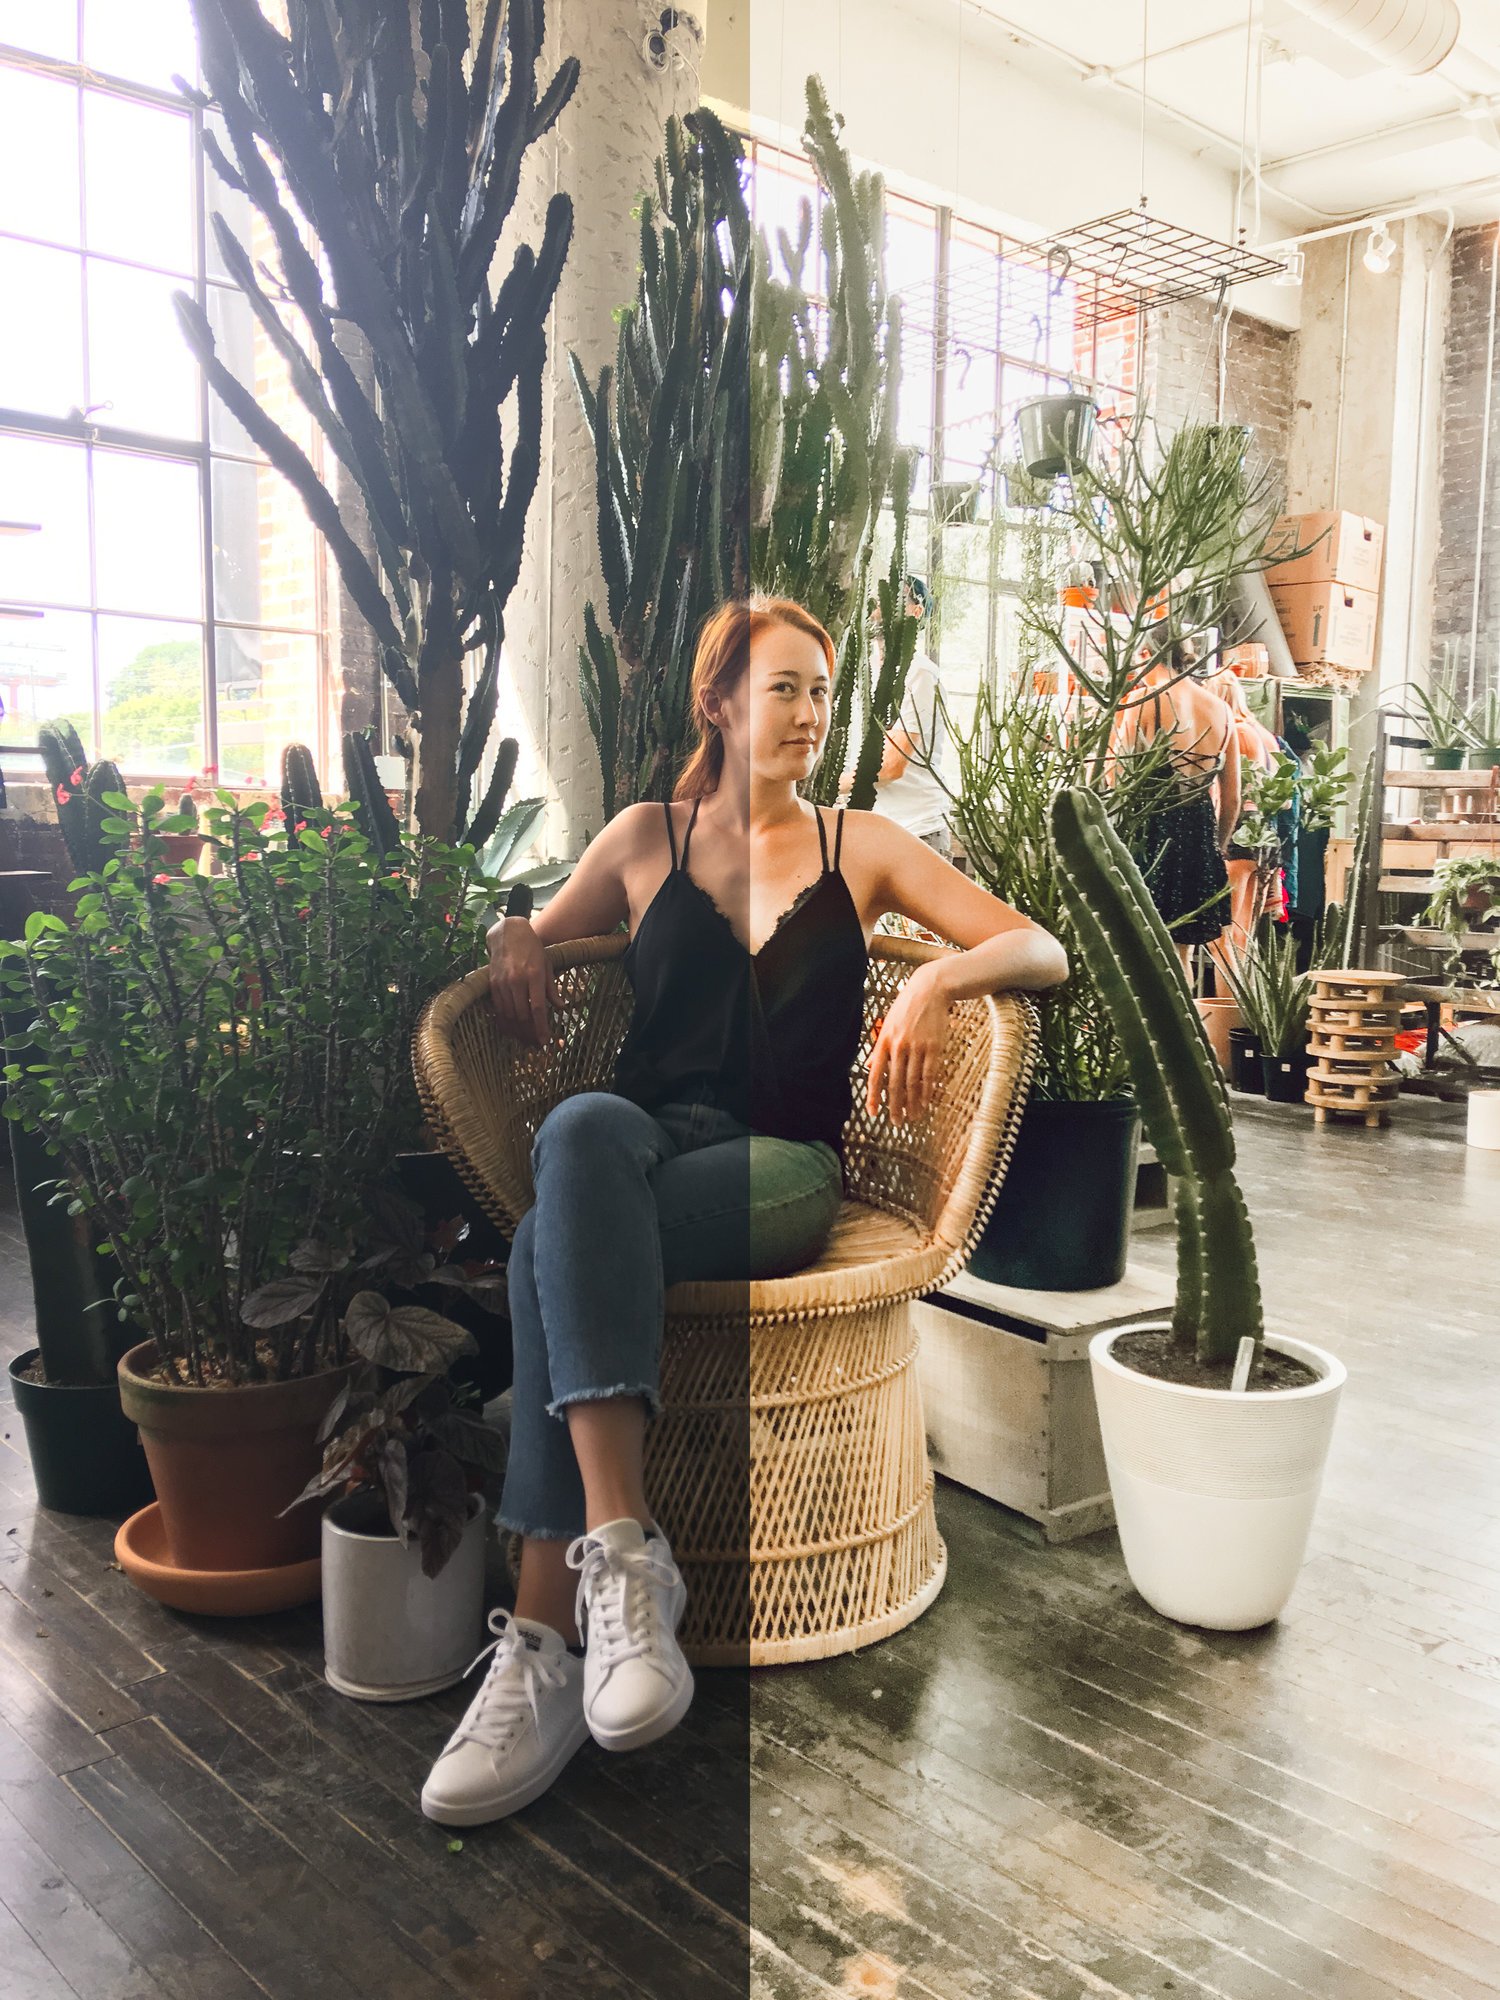
Below are a few examples of before/after photos we shot and edited completely on our iPhones!

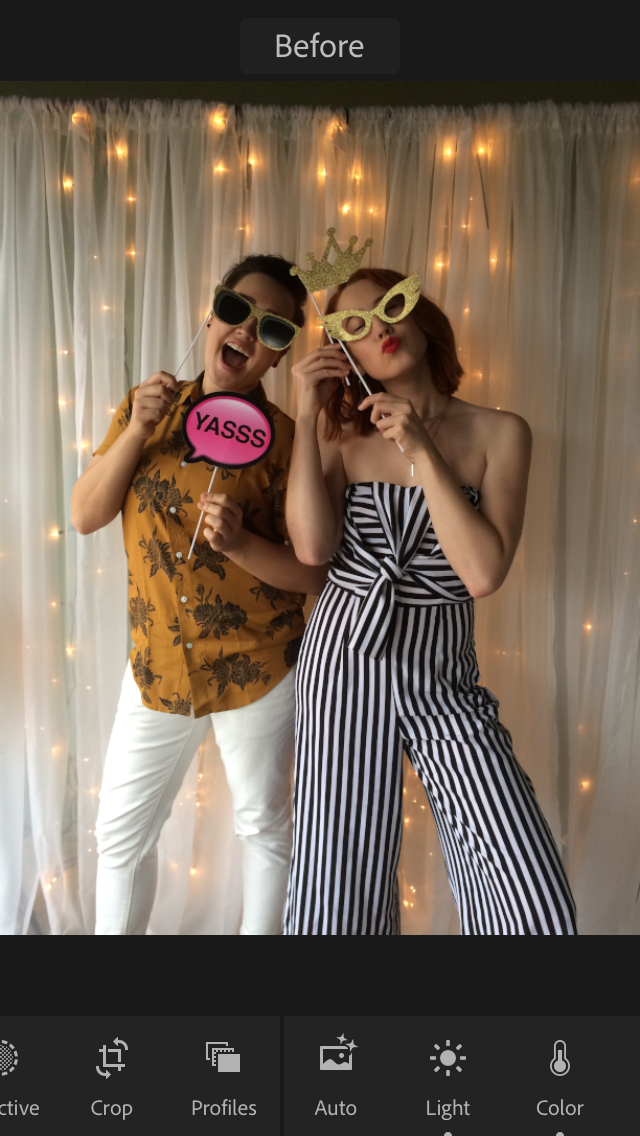
Before we dive into our 5 favorite photo-editing apps, here are a few pointers for taking high-quality photos BEFORE you put a filter on it.
Subject
What does your photo SAY? It's not always fancy filters that make a photo pretty, interesting, or engaging. It's the story they tell. Ask yourself: would your photo catch your eye even if you shared it without any editing? Study photos you love. What makes them appealing to you? The outfit? The location? The pose? The props (flowers, fruit, food, plants, etc.)?
Light

In front of window

Natural sunlight is the #1 ingredient for a great photo. However, too much light can overexpose and distort an image. You'll notice this if you take a photo smack-dab under the sun on a blazing hot day. For that perfect shot, imagine the way light gently seeps through the windows at a coffee shop. THAT is the kind of light you're looking for. However, never stand IN FRONT of a window. Always stand FACING the window. Additionally, not enough light can create grainy photos with distorted pigments. Night photos are especially tricky because you generally have to use a flash, which can cause red-eye (and if you’re super pale like me, make you look white as a ghost). Since Chloe and I are musicians and concerts typically happen at night, our solution is to apply a classic black and white filter.
Crop
Where do you intend to post this photo? If it's on Instagram, you may want to have the "square crop" on while you're taking your photo so you'll know exactly what it will look like in your feed. While Instagram's latest updates do allow for non-square photos, you may still want to consider how each photo will appear cropped. I like having options, so I'll take both square and normal crops. I prefer posting vertical photos (instead of horizontal) on Instagram because they take up more “real estate” in my followers’ feeds.
Backdrop
All those foodie glamour shots rolling through your feed may have you wondering, does EVERYONE on Instagram own a white table? The answer is: no! Most bloggers use cheap foam board to achieve their clean, minimal food backgrounds. You can find foam board at any office or craft store, like this one from Michael's for $2.99!
When considering a backdrop, think about what you want your viewer to focus on. Colorful walls and murals make for fun backdrops if you’re a fashion blogger who wants to showcase an outfit. If you want your Instagram feed to have a peaceful/calming vibe, avoid photos that are too busy and cluttered (think: New York City streets with lots of people walking in the background) and aim for more white space.
Our 5 Go-To Photo Editing Apps:
1. Lightroom CC for mobile

Did you know Adobe Lightroom has a mobile version? And it's FREE! No subscription required. Not only can you make basic corrections (exposure, temperature, contrast, etc.) you can also fine-tune details (like the hue, saturation, and luminance of a particular color) and make selective edits (i.e. brighten a specific part of a photo). Pretty nifty, huh?
Favorite filters: Lightroom mobile is not your typical "filter" app. In fact, there aren't really any good filters in the app to choose from. Lightroom mobile gives YOU the creative control to create your own filters (also known as presets) that are uniquely you! Another option is to purchase presets (we love these ones from Jaci Marie).
Using Lightroom Mobile: Unless you are using presets as a base, you will be editing your photo from scratch. I recommend correcting the exposure and shadows first and then the temperature. Once those three elements are where you like them, start playing around with the other sliders. It will take some time to figure out your own personal preferences, so just enjoy the process! Don't forget to click the "MIX" button in the upper right hand corner of the Color tab so you can adjust individual colors.
Pros: The ability to customize. You basically have a professional photo editing app in the palm of your hand! Lightroom mobile can also sync with Lightroom CC for desktop.
Cons: This app is definitely easier to navigate if you've had experience using Lightroom on a computer before. But don't let that scare you away! As we mentioned above, some photographers sell Lightroom mobile presets (usually accompanied with tutorials) which is a great starting point to begin learning how to manipulate the light/colors in your photos.
2. ColorStory

Before

Using “Notting Hill” filter
Before I started using Lightroom mobile, ColorStory was my go-to app. It's a lot more user-friendly for beginners. The app itself is beautifully designed. What I love most is the filters have this built-in brightening effect, so I rarely ever have to increase the exposure on my photos beforehand. In fact, I would highly recommend you DO NOT do this until you see what it looks like with a filter on first! Bonus: they offer in-app purchases, like filter packs created by popular Instagrammers (like our favorite, @ps.ny).
Favorite filters: the "Essentials" and "On The Road" collection
Using ColorStory: Start by applying a filter. TBH, that's usually all I have to do! Occasionally I will use the "curves" adjustment in the tools section. If there is a random dark splotch in my photo, I may add a slight 'flare' or 'light leak' effect. But I personally feel bokeh-type effects can easily look fake and unnatural, so I use this feature sparingly.
Pros: Minimal effort required (less time consuming than most other photo-editing apps). Also, fancy customization tools like "curves", a "grid" feature to plan out your Instagram feed, and the ability "save your steps" (i.e. you can make your own go-to formulas). Bonus: it is also compatible with their new design app A Design Kit.
Cons: Does not have any sort of “healing” tool to erase unwanted spots in your photos or the ability to tweak the filters (whereas Lightroom mobile allows you to tweak presets to better suit each photo).
3. Snapseed

Before

After
Snapseed is my "fixer upper" app. My favorite tool is the "Expand" feature which can expand your photo in any direction. I use it when I need to add more wall space for text above our heads (to make tour posters and such). It is literally magic!
The other Snapseed feature I use is the "healing" tool which allows me to get rid of unwanted telephone wires or other small eyesores that may be distracting. It's not quite as accurate as a cloning tool on your computer (since you're essentially using your thumb) but for editing a photo you took on your phone, it does a pretty good job. I’ve heard the TouchRetouch app does this insanely well (but haven't actually used it before).
If you don't use Lightroom mobile, Snapseed has a "selective" tool that allows you to add or subtract brightness, contrast, and saturation on a specific area of your photo. For example, if I want to make my red hair really *pop* by increasing the saturation (but don't want my skin to turn Oompa-Loompa orange) I can use the selective tuning feature to specifically target only my hair, without altering the rest of the photo.
Pros: Free! And has great "touch up" tools.
Cons: Does not have good filter options.
4. Mextures

Before

Using “blizzard” texture overlay
I only use Mextures for their "Grit and Grain" feature. It mimics the little specks of dust that you sometimes see on photos taken with a 120mm camera. Their "Emulsion" feature has a similar effect, but it is a little more drastic.
Pros: It's one of the only apps I've found that can create the dusty "white dots" texture effect!
Con: I don't use the other features because they look a little exaggerated/cartoonish, imho.
5. VSCO

Before
Using “06/Legacy” filter
VSCO was our go-to photo editing app when we discovered it in 2013. The app comes with a few free filters, but also offers in-app purchases for additional ones. They occasionally have sales, so I recommend waiting until they announce those if you have your eye on a particular filter pack!
Favorite filters: M5, A6, KK2
Using VSCO: If a photo is super dark, I start by increasing the exposure in the "tools" section. Likewise, if I import a photo that is super yellow, I will begin by decreasing the temperature before I add any filter. Cleaning up obvious issues with a photo beforehand will help you better determine the best filter to add. VSCO allows you to adjust the strength of the filter, which I oftentimes do if a photo is looking too cartoon-y. After I've added my filter, I flip back to the tools to adjust contrast, highlights, saturation, and shadows. If the color or skin tones are off, I'll play with the tint and skin tone features. Check out this blog post by one of my favorite Instagram influencers for additional VSCO editing insight!
Pros: Clean, minimalist, and moody filters that emulate an old-school film style.
Cons: You can't mix and match filters easily in VSCO. You choose one filter and if you want to layer another on top, you have to save the photo to your camera roll and re-import it.
What are your favorite photo-editing apps? Have you tried any of these before?
Save This Blog on Pinterest...


*Full disclosure: our Instagram feed hosts a mixture of photos taken on our DSLR and our iPhones. This blog post focuses on iPhone photography/editing for those who want to step-up their IG game without having to buy a DSLR and professional editing programs.